
Boudoir photography is a type of portrait photography where the subject is captured in erotic,…
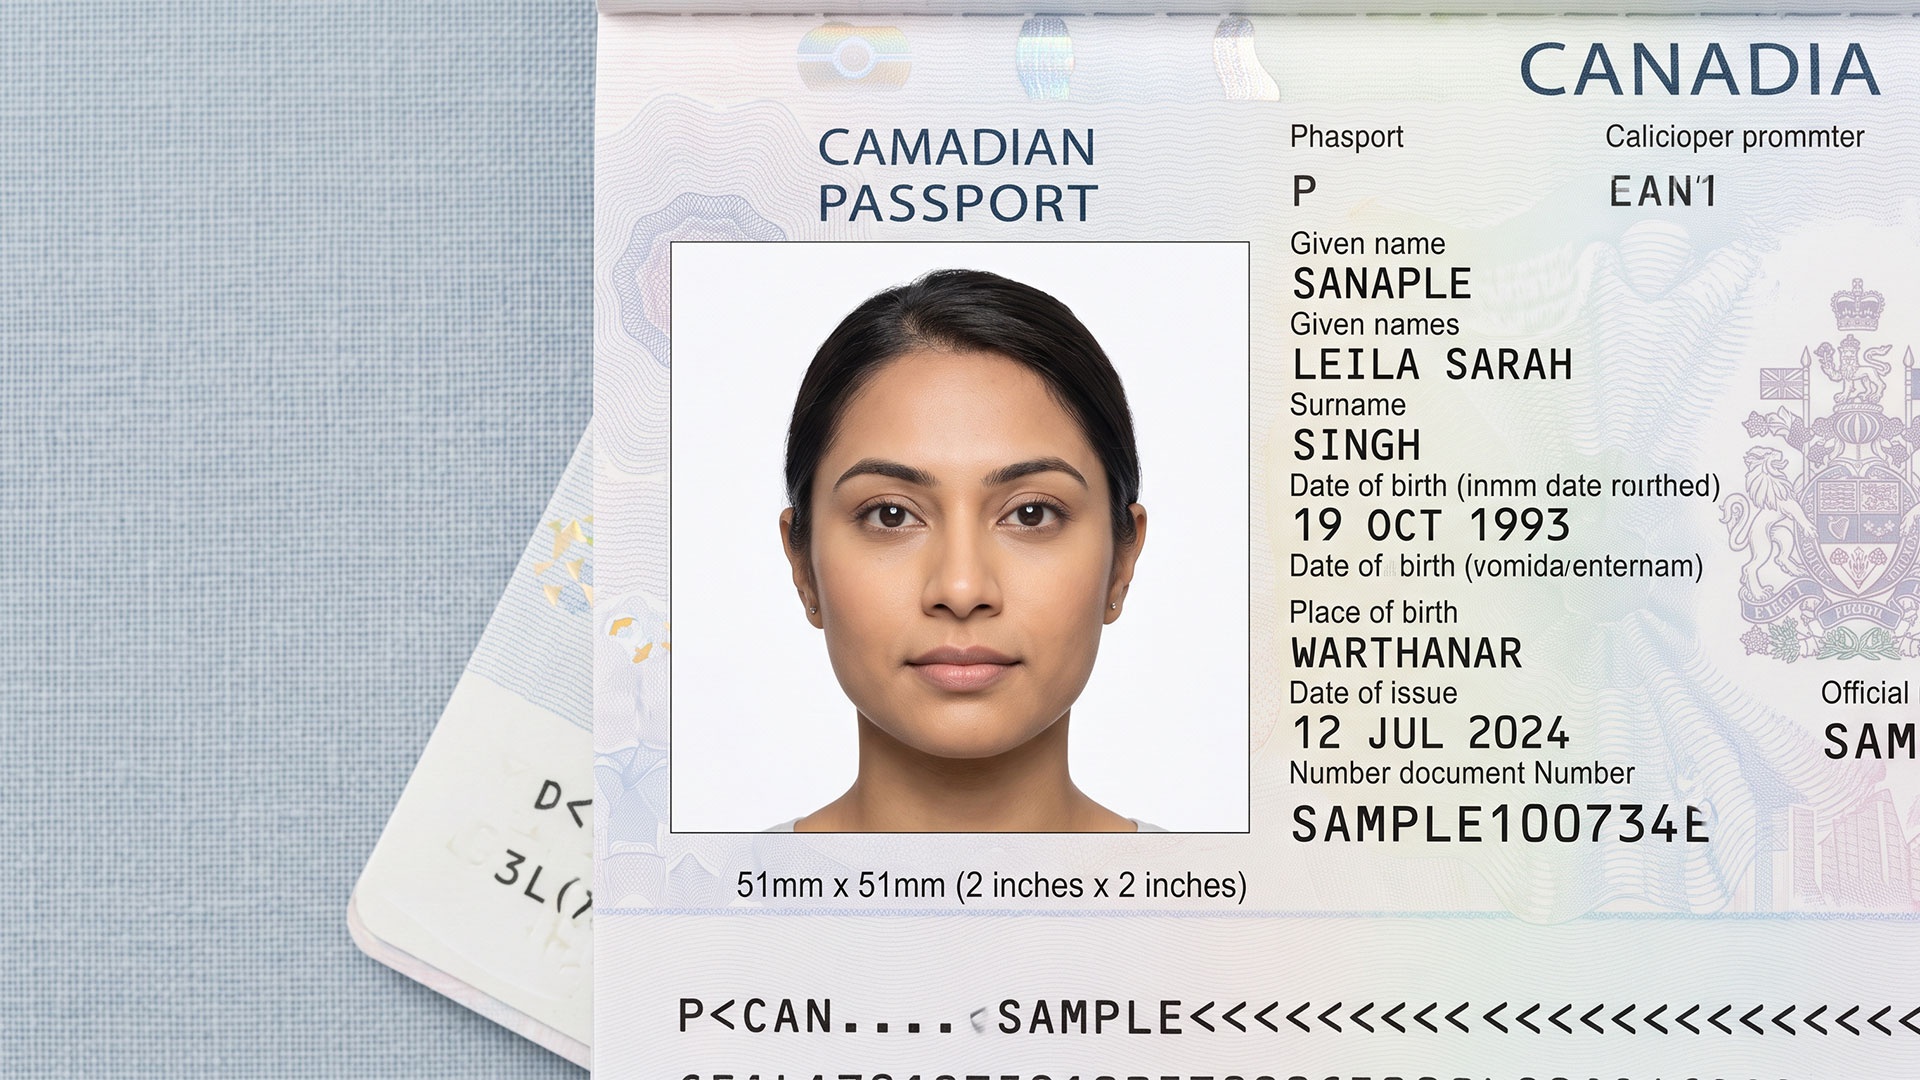
How to Take a Good Passport Photo: A Step-by-Step Guide
A passport photo is far more than a routine snapshot or a simple headshot to tuck away in your wallet—it is the foundational key to your global identity verification. In an era dominated by advanced biometrics and automated border control systems, your passport photo serves as a high-tech visual credential. It links your physical identity to your official government records across international borders, security checkpoints, and airport gates worldwide.
Whether you are embarking on your very first international adventure, applying for a critical travel visa, or simply renewing an expiring passport before an upcoming trip, submitting a crisp, fully compliant photo is essential to keep your travel plans on track.
Unfortunately, tens of thousands of passport applications are delayed, suspended, or rejected outright every year due to easily avoidable photo errors. Common mistakes—such as subtle facial shadows, improper head angles, slight glares, or incorrect background shades—can instantly flag your file in official biometric scanning systems. A rejected photo means re-submitting paperwork, paying extra processing fees, and waiting weeks or even months longer for your passport to arrive, potentially derailing non-refundable flights and vacation plans.
Mastering how to take a good passport photo properly—whether you choose to take a DIY passport photo at home using your smartphone or visit a professional studio—can save you from immediate application rejections and costly travel delays. By understanding the exact technical requirements before you click the shutter, you can ensure a seamless, stress-free passport application process from day one.
Why a Compliant Passport Photo Matters
Passport authorities rely on precise biometrics to verify your identity. If your photo fails to meet strict national or international guidelines, your application will likely be paused or rejected outright.
Taking a fully compliant passport photo provides several critical benefits:
- Fast Application Approval: Meeting photo standards on your first try prevents processing freezes and avoids extra fees for resubmitting.
- Seamless Identity Verification: Sharp, glare-free photos ensure immigration officials and automated facial-recognition gates can quickly verify your identity at international borders.
- Global Security Standards: Standardized biometric photos help border control agencies prevent identity fraud and unauthorized passport usage.
- Time & Money Savings: Taking or checking your photo correctly the first time eliminates the need for expensive studio retakes or expedited mail fees later.
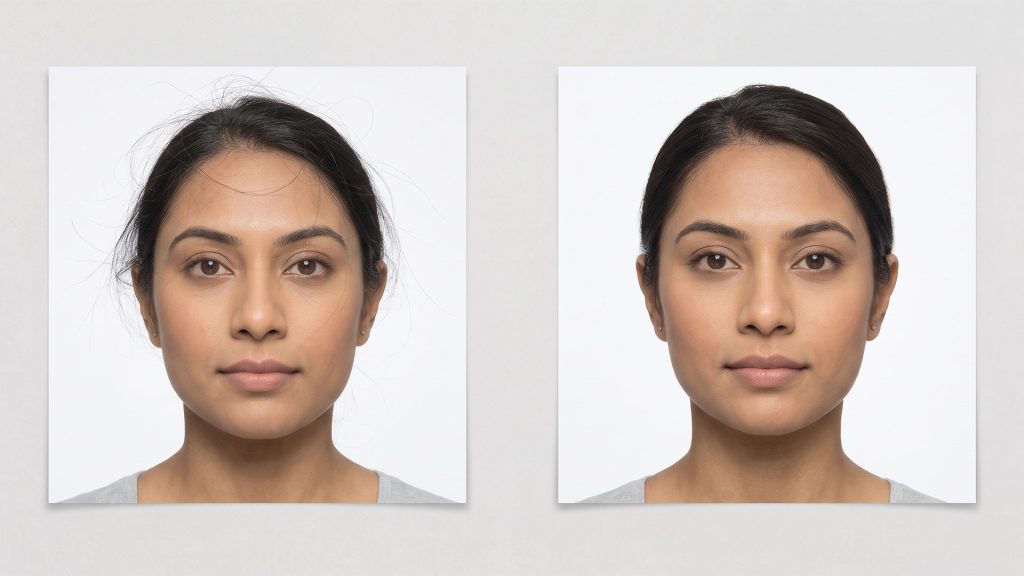
8 Steps How to Take a Perfect Passport Photo at Home
Follow this comprehensive step-by-step checklist to capture an officially accepted passport photo using your smartphone or camera.
1. Set Up a Plain Background
- Why it matters: A clutter-free, light-colored background isolates your face so biometric software can easily scan your features.
- How to do it: Stand directly in front of a flat, solid white or light gray wall. If a plain wall isn’t available, hang a smooth, unwrinkled white sheet behind you. Ensure there are no wall textures, shadows, or background objects visible.
2. Perfect Your Lighting
- Why it matters: Shadows across your face, cheeks, or background alter your visible facial features, leading to automated rejection.
- How to do it: Face a large window to use soft, natural daylight, but avoid harsh direct sunlight. If using artificial lamps, position two balanced lights at 45-degree angles on either side of your face at eye level to neutralize facial shadows.
3. Position Yourself and the Camera
- Why it matters: Perspective distortion occurs when the camera angle is too high, low, or tilted, changing your natural facial proportions.
- How to do it: Sit or stand straight with your shoulders relaxed and back. Mount your camera or phone on a tripod (or ask a friend to help) directly at eye level, roughly 4 to 6 feet away. Avoid selfies—front-facing phone camera lenses warp facial geometry.
4. Maintain a Neutral Expression
- Why it matters: Exaggerated smiles, raised eyebrows, or squints alter facial biometric distance markers between your eyes, nose, and mouth.
- How to do it: Look directly into the camera lens with a neutral expression. Relax your facial muscles, keep both eyes fully open, and keep your mouth closed naturally.
5. Dress in Contrasting Clothes
- Why it matters: Wearing white causes you to blend into a white background, creating a floating-head effect that invalidates the photo.
- How to do it: Wear neat, dark, or colorful everyday attire that contrasts cleanly against a light background. Avoid uniforms, camouflage, or light pastel tops.
6. Frame Your Face Properly
- Why it matters: Official regulations specify exact percentages for how much space your head must occupy within the image boundaries.
- How to do it: Ensure your head, neck, and the top of your shoulders are in the frame. Your face should take up roughly 70% to 80% of the total image height, leaving clear negative space above your hair.
7. Remove Obstructive Accessories
- Why it matters: Items that cast shadows or obscure facial edges make identity verification unreliable.
- How to do it: Remove background, sunglasses, hats, scarves, and large jewelry. Most passport agencies (including the US Department of State) prohibit eyeglasses in photos entirely. Note: Religious headwear is permitted as long as your full face from the bottom of your chin to the top of your forehead remains completely visible.
8. Double-Check Country-Specific Requirements
- Why it matters: Dimensions and rules vary around the globe. A photo sized for one country may be completely invalid in another.
- How to do it: Review the official government portal for your target nation before printing or uploading.
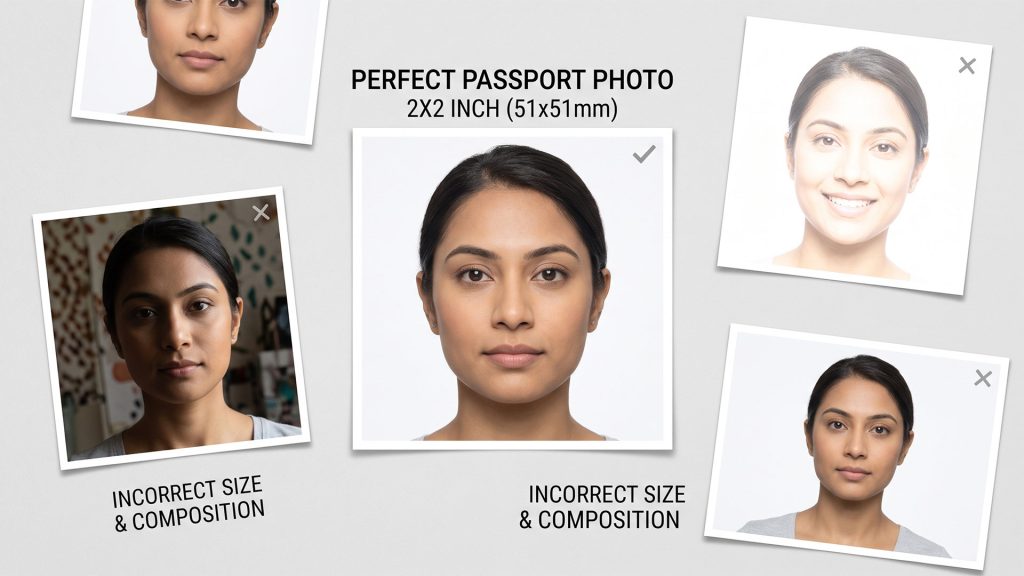
Common Passport Photo Mistakes to Avoid
Before submitting your photo, run through this quick pre-submission audit:
- Shadows: Check for cast shadows on your background or across your neck/forehead.
- Selfie Distortion: Never submit a selfie; the wide-angle front camera skews facial proportions.
- Low Resolution: Ensure the photo is sharp, unpixelated, and printed on glossy or matte photo-quality paper.
- Filters or Editing: Avoid digitally altering skin tone, removing blemishes, or using background eraser tools that leave jagged cutouts around hair.
Quick Reference: Popular Passport Photo Standards
| Country / Region | Dimensions | Background Color | Eyeglasses Allowed? |
| United States | 2 x 2 inches (51 x 51 mm) | White or Off-White | No |
| United Kingdom & EU | 35 x 45 mm | Light Gray or Cream | Only for medical need (no glare) |
| Canada | 50 x 70 mm | Solid White | Yes (if eyes clear & no glare) |
| Australia | 35 x 45 mm | Solid White | No |

Related Posts

Comments (0)