Professional Photoshop services are significant in availing, redesigning, and modifying the images to suit the…
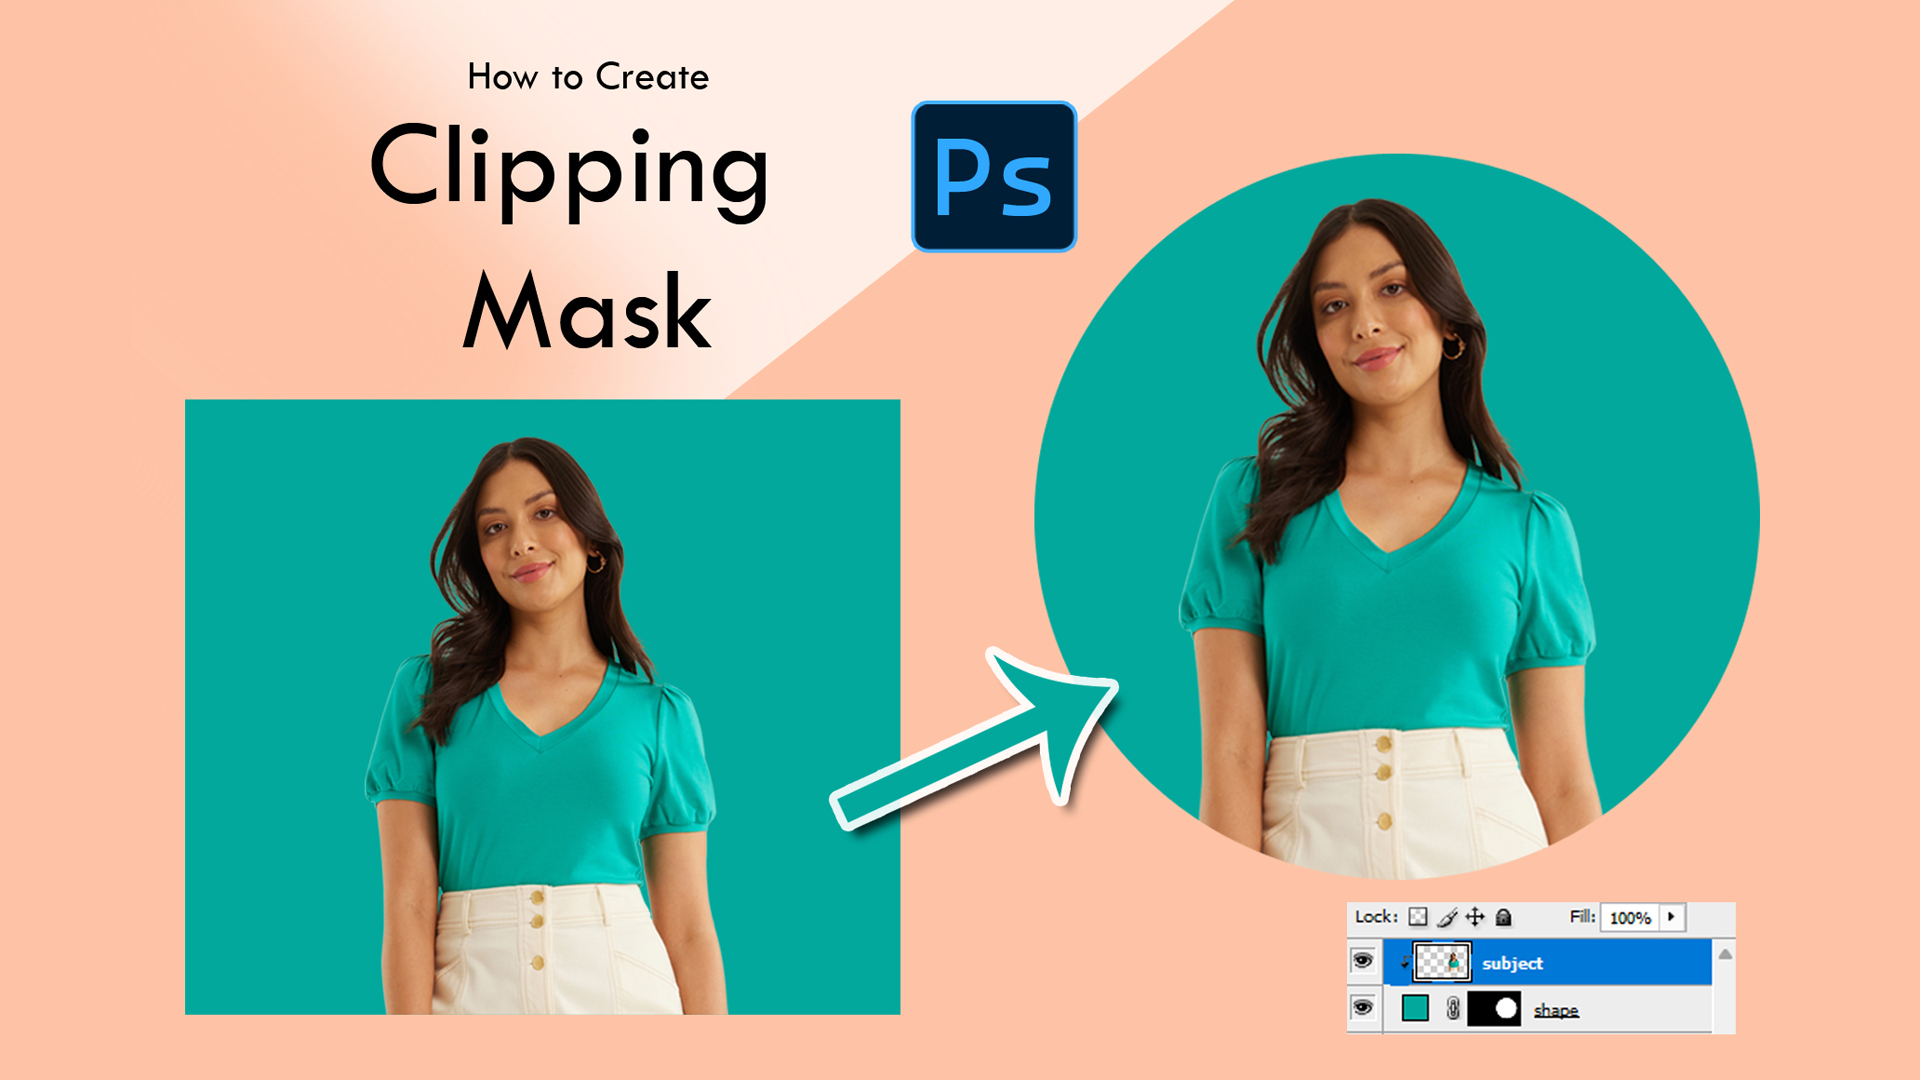
How to Create a Clipping Mask in Photoshop (Step-by-Step)
Clipping mask in Photoshop is maybe the most effective and convenient tool to combine several layers. It allows you to show one layer only by the shape, transparency, or arrangement of another layer. This option, since it’s extremely easy but extremely effective, lets you control how images, textures, or graphics appear without changing them forever or removing anything.
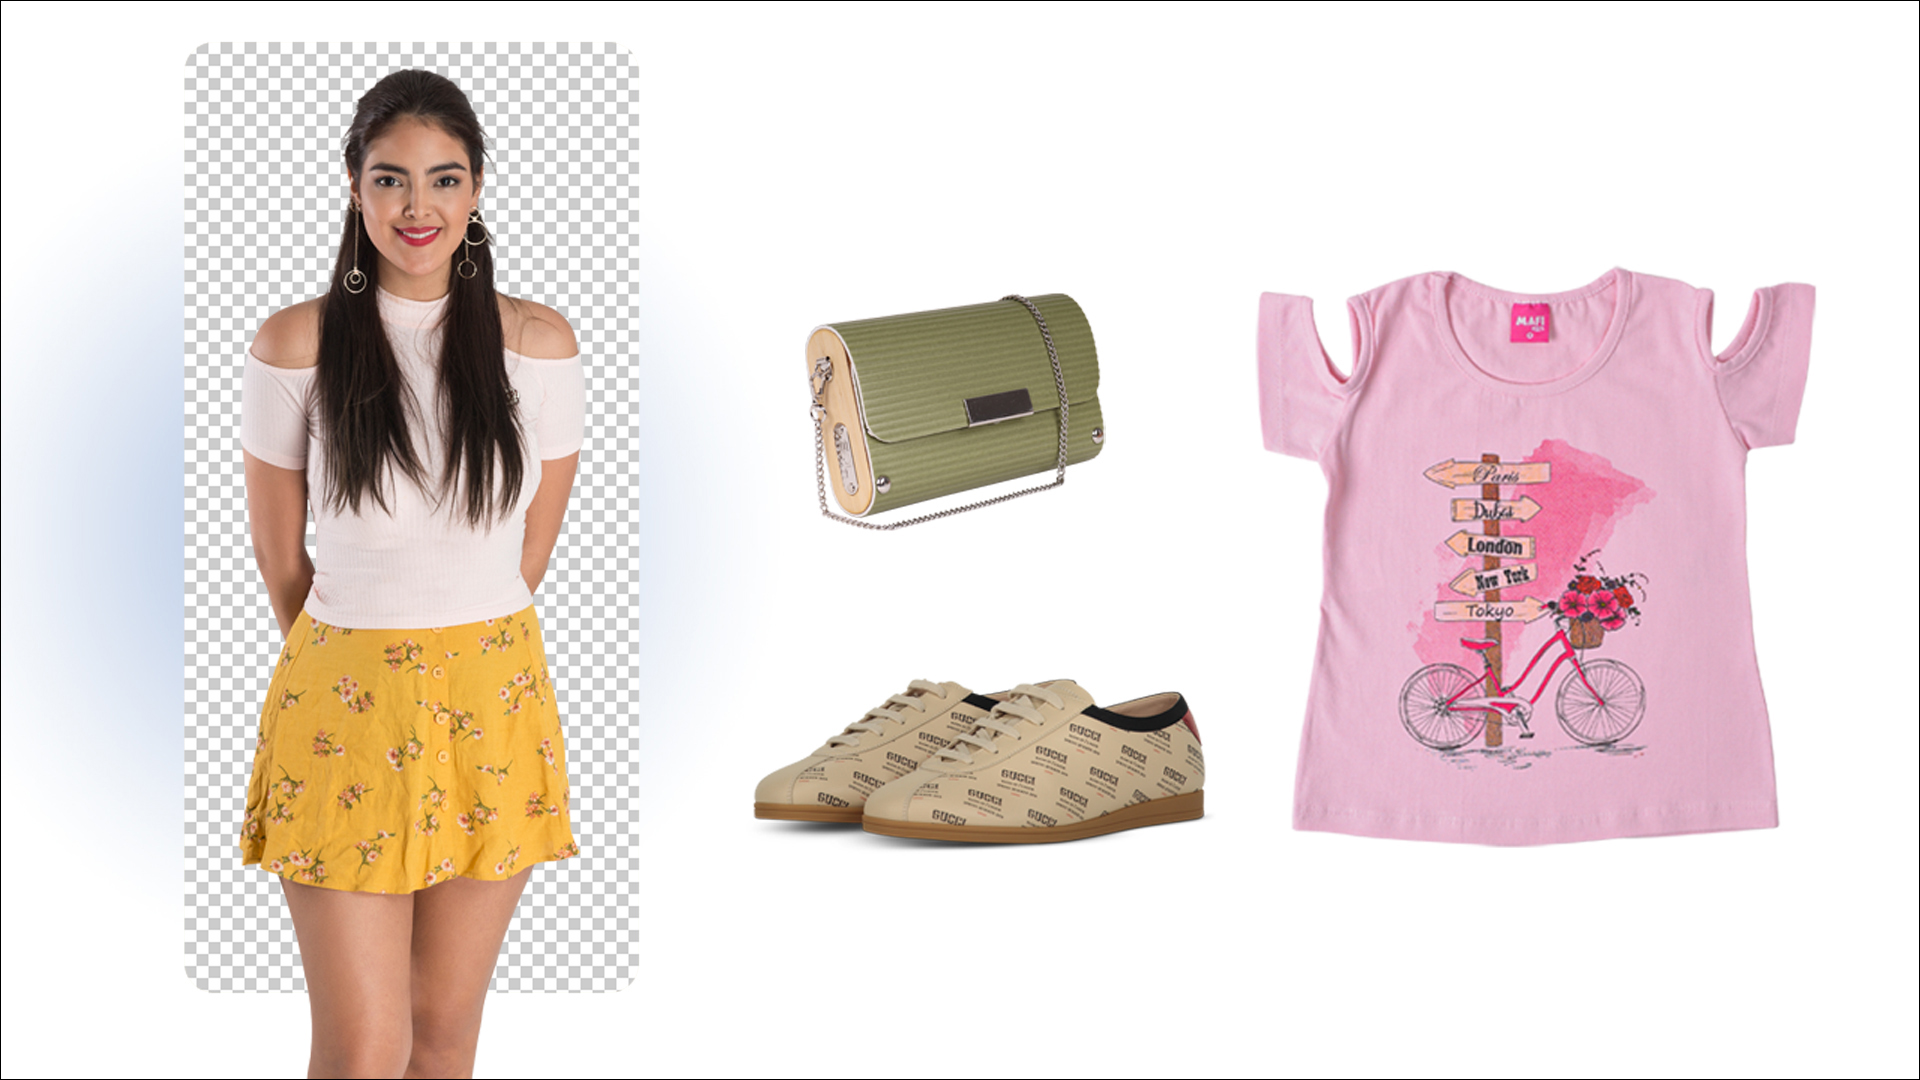
Clipping masks are usually used by designers, photographers, and editors to design professional effects such as having an image inserted in text, blending texture over objects, or inserting designs in the form of products. It’s especially popular in e-Commerce image editing, where clean and uniform images are a must to highlight product details.
Learning how to create a clipping mask in Photoshop can enhance the efficiency and beauty of your editing workflow. Learning how to use a clipping mask in Photoshop will enable you to enhance images, create incredible compositions, and have a completely non-destructive editing workflow.
Here, we will outline everything you need to know about create clipping mask Photoshop — from what it is, why it’s used, and how it works, through to the very detailed steps to build a clipping mask in Photoshop like an expert.
What Is a Clipping Mask in Photoshop?
Clipping mask in Photoshop is a helpful feature that defines whether or not to show one layer based on another. It allows you to show parts of a layer only where the layer below contains something in it — essentially like cutting an image into a specific shape without literally taking anything away. It is thus an essential tool to have for designers, photographers, and editors who want to achieve clean, creative, and precise visual effects.
When you place a clipping mask Photoshop, Photoshop connects two or more layers. The bottom layer is the mask that decides what portion of the top layer appears. Whatever lies outside the transparency or shape of the bottom layer gets automatically masked. This is actually a straightforward idea, but one that brings unlimited creative possibilities.
For instance:
- You can insert an image in text, and typography will look dynamic and eye-catching.
- You can incorporate textures, patterns, or gradients inside a product shape or silhouette only.
- You can use it in eCommerce image editing to add design, color, or material in a product without reshotting it.
The best benefit is that clipping masks are completely non-destructive. You can move or change either layer at any point without loss of quality or irreversible change. It keeps your Photoshop workflow flexible, organized, and professional.
Simply put, a clipping mask in Photoshop enables you to control where an image or layer is visible — one of the most versatile and time-saving tools for both commercial photo editing and artistic design.
The Purpose of a Clipping Mask in Photoshop
The role of a clipping mask in Photoshop is to allow designers, photographers, and editors to have complete mastery over the way layers interact. It allows you to use the shape, the transparency, or the content of one layer to dictate whether or not another is visible — essentially controlling where precisely an image or design will appear.
It has all sorts of handy uses:
Creative Design – You are able to add images or textures into text, logos, or shapes to create beautiful designs without permanently altering the initial content.
1. Product Editing – Clipping masks within eCommerce image editing help you add patterns, textures, or color into product shapes without having to re-shoot the product. For example, adding a fabric texture into clothes shapes or adding design elements into accessories.
2. Efficient Workflow – Clipping masks are not destructive, and you can easily edit, shift, or substitute the clipped layer without having to redo the work. This saves time, and the end result remains high-quality.
3. Presentable Professionalism – They facilitate tidy, elegant-looking images, which are a requirement in graphic design, digital art, and business-level picture editing.
In short, the job of a clipping mask is to find the middle ground between creative liberty and detail control — allowing you to transform average designs into pro-grade artwork.
Understanding the Various Types of Clipping Masks in Photoshop
In Photoshop, clipping masks are not a universal tool. There are a number of ways to apply them to achieve various creative effects. Being aware of what kinds of clipping masks you can apply allows you to select the most appropriate one for your task and offers greater flexibility in editing.
Below are the most significant types of clipping masks that you can apply in Photoshop:
- Shape-Based Clipping Masks
These are created when a shape layer is used as an underlying layer. The upper layer is clipped along the shape edge, making the image or design only available inside the shape. This is a kind of clipping mask that is commonly used in graphic design for logo usage, text effects, and creative layouts.
- Text-Based Clipping Masks
One of the most typical uses of clipping masks is to place an image or texture inside text. The text is the mask, and the top layer displays only inside the letter shapes. This is usually utilized for creative typography and advertising.
- Layer Group Clipping Masks
Clipping masks can also be applied to an entire set of layers. This type allows multiple layers to be clipped against one base layer, giving complex compositions and designs more control and organization.
- Adjustment Layer Clipping Masks
Adjustment layers may be clipped to affect specific layers instead of the whole project. For example, you are able to adjust brightness, contrast, or color on a single layer without affecting others.
5. Brush-Based Clipping Effects
This type of clipping mask uses Photoshop brushes to control visibility in innovative methods. Instead of a solid shape, the brush strokes define the mask area, allowing for incredibly artistic and customized designs. For example, you can gradually reveal parts of an image through a brush, making smooth transitions or works of art.
Clipping Mask Photoshop Tutorials: Step-by-Step Guides
Now that you understand what a clipping mask is, why you might need to use it, and what types there are, it’s time to put it into practice.
Here we walk you through five handy tutorials that show just how you can use clipping masks in Photoshop. The following examples will illustrate the most advanced applications:
1. Shape-Based Clipping Mask Tutorial
A shape-based clipping mask lets you place images or textures inside a specific shape for a clean and creative effect.
Steps:
- Open Photoshop and create a new document.
- Use the Shape Tool to draw your desired shape (circle, rectangle, custom shape, etc.).
- Place your image or texture layer above the shape layer in the Layers panel.
- Right-click the image layer and choose “Create Clipping Mask” (or press Alt + Ctrl + G / Option + Command + G).
- Adjust the image size and position to fit perfectly within the shape.
💡 Tip: Use high-resolution images for sharper results and maintain quality when resizing.
2. Text-Based Clipping Mask Tutorial
A text-based clipping mask is perfect for creative typography — allowing you to fill letters with an image or texture.
Steps:
- Create a new Photoshop document.
- Select the Type Tool (T) and type your desired text.
- Place the image layer above the text layer in the Layers panel.
- Right-click the image layer and select “Create Clipping Mask”.
- Resize or move the image so it fits inside the text perfectly.
💡 Tip: Choose bold fonts for better visibility of the image inside text.
3. Adjustment Layer Clipping Mask Tutorial
An adjustment layer clipping mask lets you apply changes such as color correction or brightness only to a specific layer instead of the whole project.
Steps:
- Open your project in Photoshop.
- Add an adjustment layer (Brightness/Contrast, Hue/Saturation, Levels, etc.) above the target layer.
- Right-click the adjustment layer and select “Create Clipping Mask”.
- Adjust the settings — only the clipped layer will be affected.
💡 Tip: Adjustment clipping masks are excellent for non-destructive editing and fine-tuning specific areas.
4. Brush-Based Clipping Effects Tutorial
A brush-based clipping mask gives you creative control using brush strokes to define visibility.
Steps:
- Open your Photoshop project.
- Add the base layer you want to use as the clipping mask.
- Place the image layer above it.
- Create a clipping mask (Right-click → “Create Clipping Mask” or press Alt + Ctrl + G / Option + Command + G).
- Select a brush and paint on the layer mask of the clipped layer to reveal or hide areas.
💡 Tip: Use different brush styles and opacity settings for unique effects and smooth transitions.
5. Layer Group Clipping Masks Tutorial
A layer group clipping mask allows you to clip multiple layers to a single base layer. This technique is useful for organizing complex projects, applying effects to grouped layers, and keeping your workflow neat and efficient.
Steps:
- Open your Photoshop project.
- Select the layers you want to group together. Press Ctrl + G (Windows) or Command + G (Mac) to group them.
- Place the group above the base layer you want to clip to in the Layers panel.
- Right-click the group and select “Create Clipping Mask”.
- All layers in the group will now be clipped to the shape or transparency of the base layer.
Conclusion:
Clipping masks are an incredibly powerful tool in Photoshop that combine creativity and precision. Whether you’re designing graphics, editing photos for eCommerce, or adding artistic effects, mastering clipping masks will elevate your workflow. Try these techniques and experiment with your own projects — the possibilities are endless.
Related Posts

Comments (0)